- Create Staff:
Click on your Avatar on the top right corner of this page–>dashboard–>Staff–>Add Staff;
(if the account is just for yourself, no worries, just create a staff with your name :P) - Edit Availability;
- Create Service:
Click on your Avatar on the top right corner of this page–>dashboard–>Services–>Add Service;
P.S. Do remember to assign the service to the staff.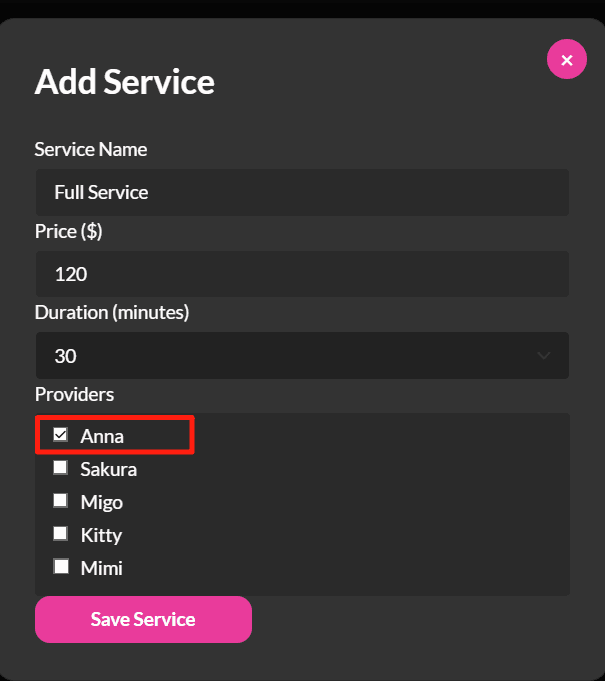
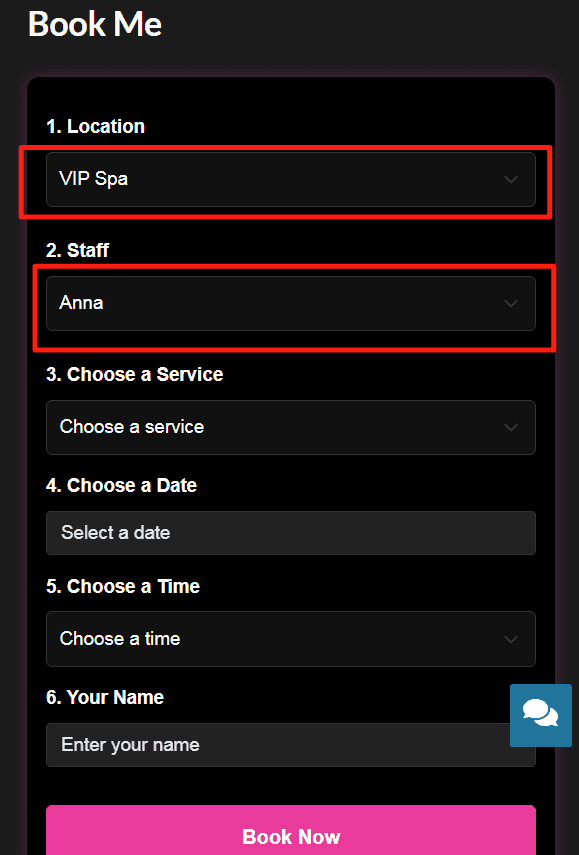
- Assign the staff in the post:
When adding a new post or editing an existing post, choose the staff you want to be associated with the post in the Select Assigned Staff section. - The final result is that when customers click the Book Me button of the post, the system will automatically fill in the staff information for the customer.
- To check your appointments:
Click on your Avatar on the top right corner of this page–>dashboard–>Appointments. Your appointments will be displayed in calendar view and list view. - To cancel your appointment:
In the calendar view, click on the appointment you want to cancel, click the Cancel Appointment button in the Appointment Details window;
In the list view, enter some appointment information in the relevant field to allow the system to match the right appointment. Click the Cancel button of the appointment you want to cancel.
Related Articles:
How to Set up Your Avatar & Profile Photo